Monday, November 30, 2020

How to convert DVD to PS3?

We all have known that PS3 is an excellent game player. However, we can't play games all the time; We can achieve other aims with it, such as watching movies, appreciating music…because it has such a big screen for video and a clear earphone for music. For the reason above, I will introduce a practical method to rip DVD movies, convert video files to MP4 format for our PS3. At the same time, we can extract audio from DVD/video files to MP3, AAC PSP audio formats for PSP music.

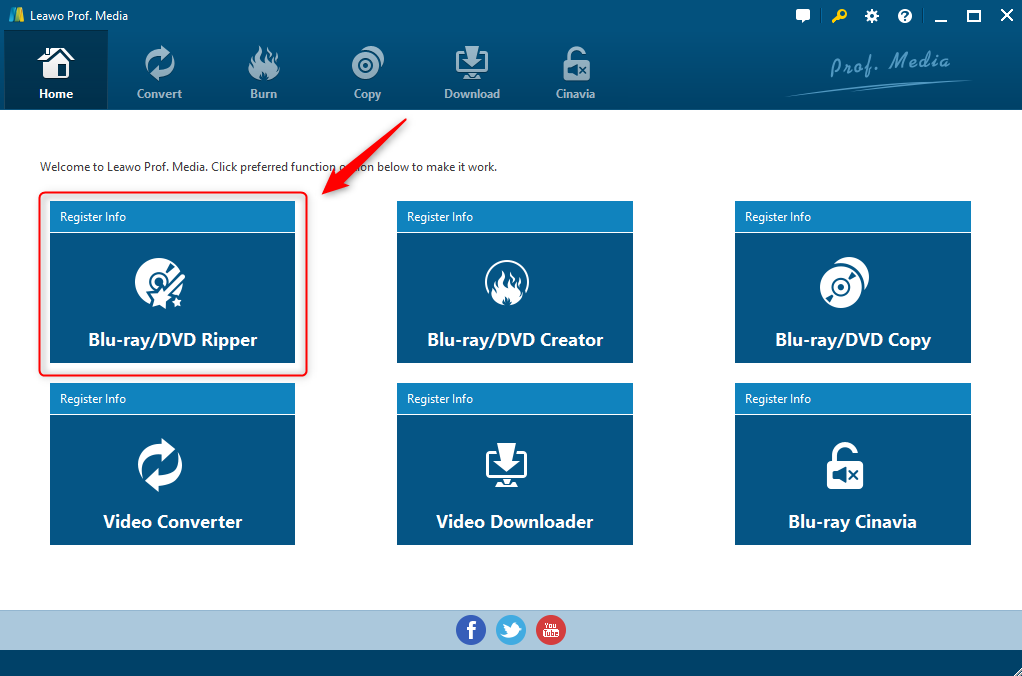
Now I will share with you a practical tool to solve the problem mentioned above. There are a lot of ways to do it and a lot of different programs out there, but our favorite method uses a program called Leawo DVD Ripper.

Leawo DVD Ripper has been highly positively voted for its powerful disc decrypting performance. Featuring the latest disc decrypting technology, Leawo DVD Ripper allows user to decrypt CSS-DVDs from all regions, and then convert DVD movies to videos in various formats like DVD to MP4, DVD to MKV, DVD to MOV, DVD to AVI, etc.

 While converting DVD file, you can adjust the settings of the output file to your own preference such as video codec, aspect ratio, resolution, frame rate, audio codec, channel, etc. You could choose desired subtitles and audio tracks from source DVD movies for output. It even allows you to convert 2D DVD to 3D video in 6 different 3D movie effects.

In this post, I will introduce you how to convert DVD to S3:

Step 1. Launch the best DVD to laptop converter,  then hit the “Convert” button option on the top panel. 


Step 2. Select the “Change” option to enter the “Profile” panel, where you could select output format from various groups according to your own needs. 


Step 3. Finally, hit on the “Convert” button at the bottom of sidebar to start conversion process. 


How to Play Blu-ray on Surface Pro?


To view Blu-ray movies on your new Surface Pro  tablet, the best way to rip Blu-ray disc/folder/ISO files to Surface Pro support video format so that you can playback Blu-ray on Surface Pro smoothly.


If you want to transfer Blu-ray movies to Surface Pro, a professional powerful ripping program will help you a lot. Leawo Blu-ray Ripper is such a tool with the easiest workflow to help you rip off Blu-ray disc/ISO/folder protection, then convert the decrypted movie to MP4 format with best video settings for Surface Pro.

Here's one that's been getting positive reviews from users: Leawo Blu-ray Ripper. It can rip and convert protected Blu-ray to common video and audio files to 180+ video/audio with 100% original quality and 6X faster speed for playback on different devices. You can get lossless video or audio files. 

With Leawo Blu-ray Ripper, you can also personalize the Blu-ray movies including file merging, media editing, 3D movie creating, watermark adding, parameter adjusting, etc. with the best output quality.

Here I would show you the detailed instructions on how to rip Blu-ray to MP4 to play on Surface Pro with Leawo Blu-ray Ripper at ease.

Guide on How to Play Blu-ray on Surface Pro

Step 1. Click the “Convert” button on the top row of buttons in the top left corner. 


Step 2. Choose format.
There is a drop-down box named “MP4 Video” by default next to “Add Photo” button. Click “Change” to enter the Profile panel to select the output format. Various video and audio formats are available for selection, like 4K MP4, 4K MKV, HD MP4, HD AVI, MOV and etc.


Step 3. Adjust specs or edit video before conversion (Optional).

If you want to customize output video size, bitrate, frame rate and others, just click “Settings” to enter profiles settings window.


Step 4. Start conversion.


Now hit the big red “Convert” to start converting Blu-ray movies to Surface Pro MP4 with best settings for playback.


After the conversion, you can get the converted Blu-ray rips in .mp4 format by tapping the Open button.

Friday, November 27, 2020

Upload 4K Video to Instagram

 Have some personal 4K video shot with your camera, camcorder, smartphone, tablets or downloaded from online sites and wish to upload and share the 4K video on Instagram, but have no ideal how to get the best uploading settings such as file format, video length, file size, etc. The following article will give you the full answer forall those questions.


When it comes to generating more engagement, video content can serve you better than the rest. They are known to receive 2 times more comments than simple text or picture contents. The same can also be said about the number of likes. However, for making the most out of video uploads, you need to have a clear idea about the overall requirements for Instagram videos.


To finish the task to rip and convert DVD/Blu-ray discs Kindle Fire, the assistance of a Blu-ray and DVD ripping tool is necessary, which is able to copy Blu-ray and DVD files to  Kindle Fire.

Best video settings for Instagram uploading

  • Size: maximum width 1080 pixels (any height)

  • Frame Rate: 29.96 frames per second

  • Codec: H.264 codec / MP4

  • Bit rate: 3,500 kbps video bitrate

  • Audio: AAC audio codec at 44.1 kHz mono


From above lists, we can see that the maximum uploading resolution for Instagram is 1080p, therefore, it is essential for you to compress 4K to 1080p to get a fast and smooth uploading process. In addition, the video format should be MP4 file format compressed with H.264 video codec and AAC audio codec.

Best tool for converting and compressing 4K video for Instagram


To get above listed best uploading settings for Instagram, you can easily achieve that with our best Instagram video converter program called Leawo Prof. Media, the program not only assists you to encode 4K video to Instagram compatible H.264 codec with MP4 container, but also allows you to output Instagram best compatible uploading settings listed above in the program's profile parameters window.


For Mac users, please download Leawo Prof. Media for Mac to produce Instagram best compatible uploading settings.

Step by Step to Convert and Compress  4K Video for Instagram Uploading


Step 1: Load  4K video into the program.

Start the program on your computer, click "File" menu and select "Add Video" to import  4K video.


Step 2: Choose output file format.

To downscale  4K to 1080p, you can output Instagram compatible "H.264 HD Video(*.mp4)" under "HD Video" main category.


Step 3: Trim 4K video 

Open "Video Editor" window and switch to the "Trim" tab, you can drag the slider bars to include the segment you want to remain, click the left square bracket to set start point, and click the right square bracket to set endpoint when previewing the video or directly input specific values.


Step 4: Start the conversion process.

After all settings are done, click "Convert" button to begin to convert and compress 4K video to the best formats and settings for Instagram.


When the conversion is completed, you can smoothly upload and share 4K video on Instagram.


Rip Blu-ray to Kindle Fire

 "I am taking a chance that perhaps someone can give me some feedback I am having. When I convert my favorite Blu-ray and DVD movies to Kindle Fire HD compatible video format, here is my confusion, which one should I save to? Could you give me some advice?"

"I'd like to transfer my Blu Ray Dvds to my Kindle Fire HD 8.9. However, while I have had no problems with the original disks, the files play fine on my device, but everything I converted has the same error message: "video cannot be played". What is the problem?"


Like many other tablets, Kindle Fire does not deliver native support for Blu-ray/DVD movies, so if you have the intention to watch Blu-ray or DVD movies on it, you need to convert the Blu-ray movie into a format compatible with your Kindle Fire in advance. H.264 MP4 format is the best format for Kindle Fire HD 8.9. You'd better get a Top Blu-ray DVD Ripper software. 


Here Leawo Blu-ray Ripper is highly recommended to aid you to rip DVD/Blu-ray discs into  Kindle Fire supported files with high speed and lossless quality. It is quite a professional and best DVD/Blu-ray ripping and converting tool, which enables users to rip and convert convert DVD/Blu-ray discs into various video and audio formats such as MP4, MKV, MOV, AVI, MP3, etc, and it is equipped with quite a few preset output devices for directly conversion, including but not limited to iOS devices, Sony Devices, Samsung Devices, and Microsoft Surface. 


If you are using a Mac, you can go to Leawo Blu-ray Ripper for Mac. Now you can download this tool and follow the instructions to backup DVD/Blu-ray discs into  Kindle Fire.


Guide: How to Rip Blu-ray and DVD movies to MP4 for Kindle Fire?


Step 1. Load Blu-ray/DVD movies.


Install and launch the best Blu-ray/DVD to Kindle Fire converter.

Click to open the module of “Convert” and then hit the button of "Add Blu-ray/DVD" on the main interface to import your DVD/Blu-ray disc after you start this DVD/Blu-ray to

 the Kindle Fire..


Step 2. Hit on the drop-down list next to the button of “Add Photo” to select “Change” to click on to call out the Profile setting panel. Here you can choose one suitable output format for your WD MyBook Live freely. H.264 MP4 is highly recommended here.


Step 3. Click "Convert" to start ripping 1080p Blu-ray to Kindle Fire HD 7/8.9 compatible video.


Wednesday, November 18, 2020

How to Rip and Upload DVD to YouTube?

"I have a lot of DVDs, including homemade DVDs and commercial protected DVDs. I want to upload some DVD videos to YouTube to share with others, but I don't know how to upload them, because YouTube doesn't seem to support direct uploading of DVDs. Can anyone help?”


According to the to share DVD movies on YouTube, you need to rip DVD to YouTube H.264 MP4 or MOV first. Leawo DVD Ripper can be a great help for you.

This DVD ripping software works as a professional DVD to YouTube converter that lets you get videos with optimized settings for uploading to YouTube. Besides, it can also convert DVD to video formats like AVI, WMV, FLV, M4V, MKV, MPG, etc and extract audio from DVD for playing and sharing anywhere. What's more, the built-in editor also allows you to extract DVD clips with the very part you want.

How to Convert DVD to YouTube friendly Video

1. Load DVD movies

Insert the DVD disc into your computer's DVD-ROM and run the DVD Ripper for YouTube. You can click the "Add DVD" button to load the DVD files to the program.


2. Specify output format

Choose output format from “Format” or “Device” group according to your needs. Choose YouTube compatible video format as output format, like “MP4 Video” from “Format > Common Video” group.


3. Start converting DVD to YouTube

When all these settings are ready, you can click the "Start" button to begin the DVD to YouTube conversion. When the ripping is done, you can click on "Open" button to locate the ripped videos. Now you can freely share the video files on your YouTube with more people.


How to Upload Converted DVD to YouTube


Step 1. Open YouTube website and login into YouTube. If you don't have an account, sign up for one before any further.

Step 2. Click the Upload button at the top of the page.

Step 3. Define the video privacy settings and select the DVD video you want to upload to YouTube.